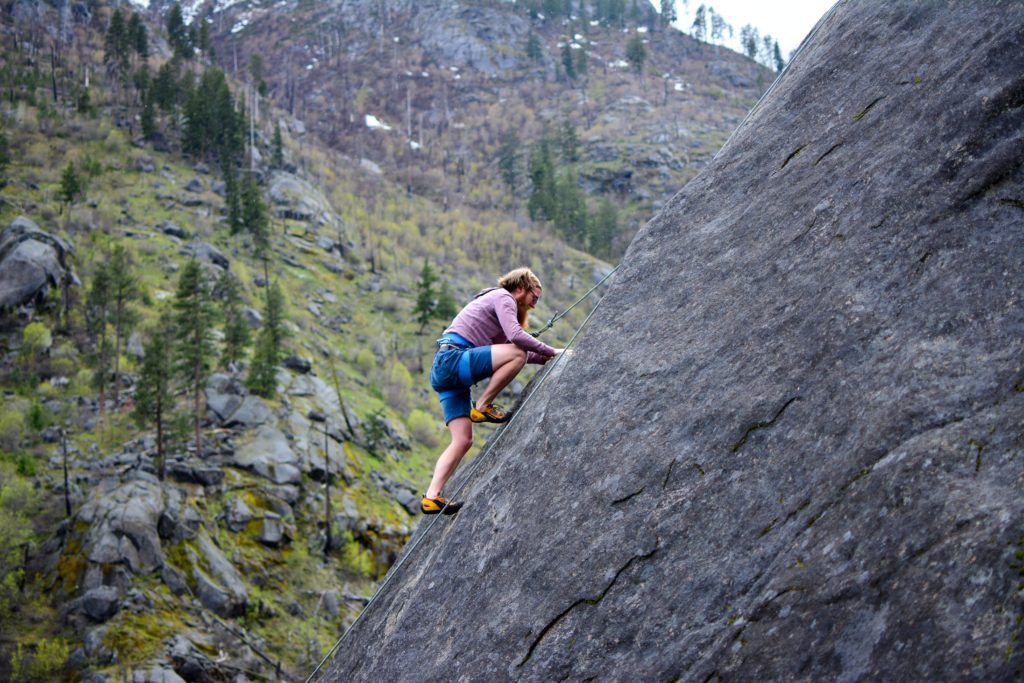
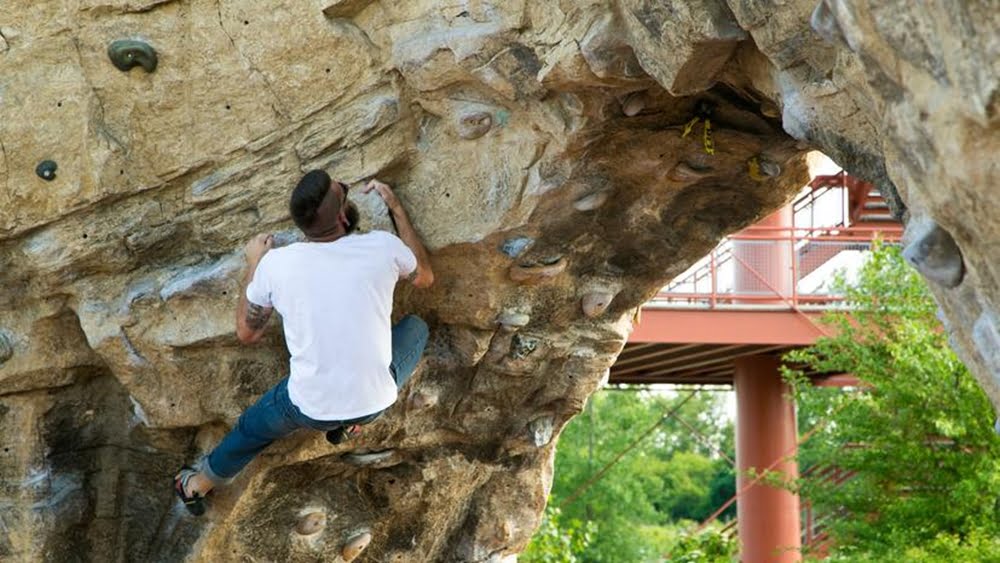
As a beginner or intermediate climber, if you believe that your finger and grip strength is not enough, hangboarding is the best supplemental exercise you can opt for. However, before starting, you have to understand that even though hangboard training is a great way to start building resilience in the tendons and ligaments of the forearm and the hand, it is not enough on its own. Your primary focus should be on your climbing and climbing techniques. All the other exercises are supplemental. Usually, beginners and intermediate climbers believe that it is alright to put climbing on the back-burner once they are in the hangboard training phase.

New climbers should always keep climbing as a priority. It is imperative that they develop body awareness through an unstructured and structured exploration of indoor and outdoor rock faces. Once you have developed your rock climbing habits and techniques, you can move to hangboard training. Getting too much finger and wrist strength ahead of time can be detrimental to technique learning. If you set off on the wrong tone of technique initially, it might be difficult to unlearn the bad patterns and poor movements.
Other uses of hangboards
Apart from using the hangboard for building finger and wrist strength, climbers, especially beginners who don’t have access to indoor and outdoor climbing facilities, can use it to maintain consistent and frequent loading twice or thrice a week.
For climbers who can only squeeze in one or two climbs in their routine can add a lowly regimented hangboard workout (once or twice a week) to their routine. This helps keep the muscle memory and the form necessary to implement the perfect technique.
How to mount a hangboard
In any case, the best way to keep up with your hangboard training is by mounting one at your home. If you have access to an efficient workout plan, there is no need to go to a climbing gym.
Here’s how you can mount one:
Location
Your first step should be looking for the best place to mount the hangboard. Preferably, the location should be where you can hang freely, without your legs touching anything. Most climbers prefer mounting it over the doorway if there is enough space between the ceiling the top of the doorway.

If you don’t have enough space over your doorway, you can either use wood planks or make a movable wood platform to mount the hangboard.
Hangboard models vary in their dimensions quite a lot. Hence, make sure the selected location has enough space to mount the hangboard you select. To avoid injuries, the hangboard should be mounted such that you don’t have to jump to reach it.
Mounting
Most hangboards come with pre-drilled holes. The package also usually contains screws and detailed instructions for easy mounting.
According to experts, the best practice is to screw the hangboard to a wooden platform before mounting it on the wall. This ensures that the hangboard stays in its place, preventing any injuries.
Note that mounting a hangboard can leave stubborn imprints on the wall.
Pulley system
Every hangboard must be accompanied by a pulley system to add or subtract a certain number from your body weight. The system usually consists of a sturdy rope, pulley hoops to pass the rope, and eye bolts to hold the weight.
For climbers lacking in finger strength, hanging with full body weight might be challenging and might lead to an injury. Hence, in this case, you can use pulleys and cords to reduce body weight. All the pulley systems for hangboards come with detailed instructions on how they can be used.
Alternatives
If you don’t want to mount your hangboard on the wall above your doorway, there are three alternatives you can go with:
- Create a wooden platform on the walls in the corner of any room and mount the hangboard on it. You will need three wood planks. Two of the same size (preferably greater than 16 inches) and one five times the length of the other two. The smaller planks will be used to position the larger one in the corner. Mount the smaller planks on either wall such that they are at least 48 inches from the corner. Attach the longer plank to them using door hinges. Now, mount the hangboard on the longer piece of wood.
- Get a door frame to mount the hangboard. It is basically a portable hangboard platform that fits behind the door and rests above the door hinge. It can be assembled and dismantled within minutes. Moreover, the climbers have the freedom to adjust the incline.
- You can design a hangboard platform of your own using wood or metal planks. The platform’s base should be broad enough for you to stand with some climbing equipment, and its height should have enough clearance for you to hang freely without touching anything.

Getting started on hangboard training
Before going ahead with any sort of hangboard training plan, make sure you check in with a doctor or professional trainer to get health clearance.
Hangboard training works best if done in combination with climbing and other endurance enhancing exercises. Here are a few things you should keep in mind while starting with your training.
- Don’t complicate things at the start.
- Work in a goal-oriented way. This will help you reach milestones faster.
- To avoid straining your joints and tendons, take a full day rest between training sessions.
- If you are doing hangboard training in combination with climbing, don’t overdo it. Reduce training sessions to twice or thrice a week.
- Listen to your body.
As a beginner, you might want to start with short dead hangs with different grip positions. Each set should have only a few seconds of break in-between. All hangs must be active to prevent any injuries. For those who don’t know, active dead hangs mean you should pull your shoulder blades down and back. Avoid shrugging your shoulders when you are hanging, and engage your shoulder blades by keeping them away from your ears. It is essential that as you progress, you modify the hang time and rest time. Usually, it is advised to move from a challenging grip position to a less challenging one during the training.


