
Are you looking for a low-cost hangboard that caters to all your strength building needs? What if I tell you, you can make one yourself?
Yes, there are plenty of hangboards on the market and it is much easier to purchase one and mount it in your house. However, most hangboards are not customizable, moreover, they can be pricey at times.
A DIY hangboard allows you to personalize the edges and pockets to fit your climbing style. Moreover, you can also add slopers and jugs the way you like them.

In this article, we will explain the process of making a hangboard at home. This is a simple hangboard with a few pairs of edges and pockets. You can always add more according to your requirements. Moreover, before starting this DIY project, evaluate your hang location for strength. Also, you should be comfortable with using a power tool, since this project requires you to use them.
The whole process of making a DIY hangboard is quite easy. All you need is some hardwood, a drill, some nails and a little bit of time.
Materials Required
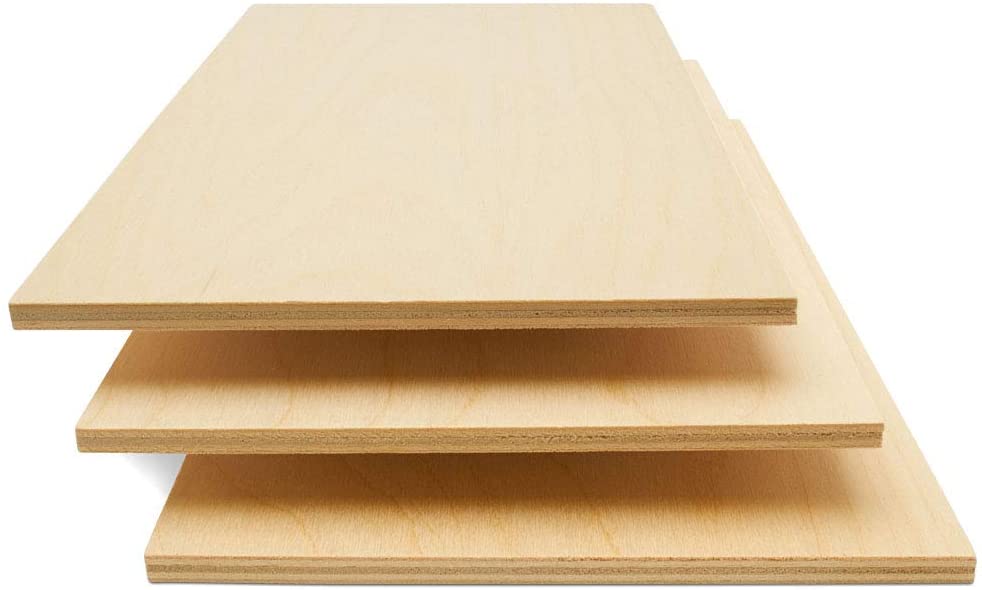
- 2 x Hardwood panels: You can use any of the left-over wood. Just ensure that it is hardwood. Ideally, it should be 2 inches thick and should be at least 12 inches tall. The other should be 6 inches tall, and 1-inch wide. You can decide its length based on the number of edges and pockets you want.
- Wood Glue
- Nails, Screws and T-Nuts
- 2 x Plywood back panel
Tools Required
- Pencil or marker
- Radial Saw
- Drill
- Route or hole saw
- Sandpaper
- Chisel
Cut and fix wood panels
Your first step should be cutting the wood panels if they are not aligned length-wise. Moreover, if they have any paint residue on them, sand it off with sandpaper.
Next put the smaller wood panel on the bigger one. The one on top should be half in width size as compared to the bottom one. Fix them in place with wood glue. To ensure they stick properly, either hold them in place with clamps or putting something heavy on them.
After the glue dries, secure them together with nails. Don’t overdo it. One nail in every corner will suffice.
Outline the holds layout
Before moving on to drilling holes in the hangboard, it is important to decide what kind of layout you are looking for. Create paper cutouts for mono, two-finger, three-finger and four-finger hold. To ensure a uniform design, make two circles and then join them with straight lines, like this:
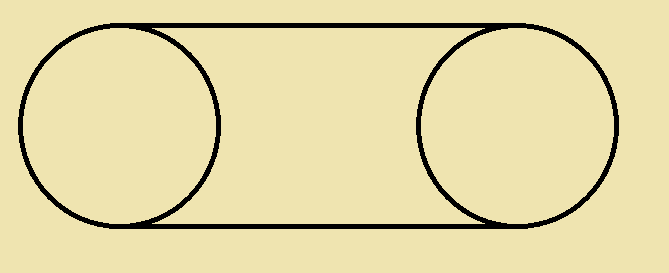
Place the cutouts where you want them on the board and mark them with a pencil or a marker. Each hold should be at least 1.5-inch apart to maintain the strength of the wood. Moreover, also decide the depth of each hold before you start drilling. Ideally, there should be a full-length pocket in the center as well. So make a marking for that too.
Also, mark the points where you will drill holes to mount the board on the wall so that unknowingly you don’t create holds in those places.
Start drilling
You can drill out the holes with whatever tool you have. The easiest way is to use a router with a guide. However, you can also use a hole saw or a drill with a Forstner.
To ensure all the holds have straight lines are created according to a layout, clamp the board with a table or a platform such that it does not move. Also, ensure that the depths of matching holds are consistent.
Chisel the holds
After using a router or a hole saw, you will get holds that look something like this.

At this point, you have to use a chisel to straighten the edges and cut out the leftover parts. After chiseling the excess parts, the holds will start to shape up. However, the edges will be pretty rough.
Sand the slots
Depending on the type of grip you want, start sanding the edges of the holds. While sanding the rough edges out, make sure no splinters or rough parts are standing out to prevent any injuries. This is the step that will take the longest.
However, be patient and don’t rush it. Take your time with sanding the edges. You don’t want to end up with a splinter in your finger. In addition to this, rough edges will cause skin damage.
Add Slopers
Using a radial saw or a hand saw, make two downward angled cuts for slopers. Make sure you measure the angle of the sloper and cut it evenly on both sides. For varied difficulty, you can even cut two different angled slopers.
They should be two inches deep at least.
Add the back panel and mount the hangboard
For added security and ease of mounting, connect it to the plywood back panel. Drill the holes where you made marks and screw the hangboard to the plywood.
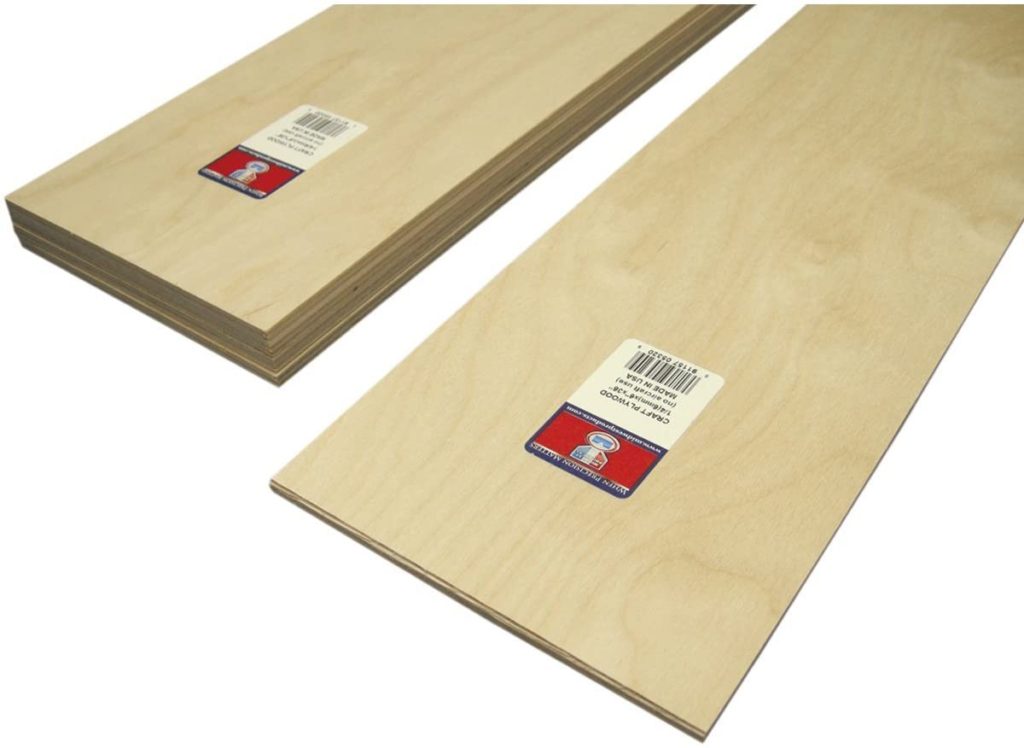
Take the second plywood panel and add T-nuts to it. Make sure the T-nuts are aligned with the screws on the hangboard.
Attach the second plywood panel to the wall and mount the hangboard on it. That’s it. If you are a DIY enthusiast and have already worked with wood and power machines, this project will hardly take a day or two.
Start Sweating
Now that your DIY hangboard is up and about, you can start your training. If made properly, the hangboard will become a part of your training routine since it will cater to your training requirements.
Conclusion
If you are having a hard time finding the right hangboard for yourself, DIYing one is the best decision. It will not only help you customize the edges and pockets based on your needs but will also be cost-effective.
Even if you have not worked with wood and power machines in the past, DIYing a hangboard is a rather easy project and will not take a lot of time.
Frequently Asked Questions
What kind of wood should I use for a hangboard?
To create a hangboard, you should use hardwood such as poplar, birch, beech, etc.
Can I use pine to build my hangboard?
Pine is not a sustainable material for building hangboard.